Table of Content
This current makes the magnet vibrate, and those vibrations are picked up by our ears as sound. Do you want to feel the bass, but your speakers aren't up to par? Make your own DIY Active Subwoofer at home with only a few items.

Without access to a lab filled with different crossover components, your ability to tweak will be limited to what you have available. You can make some simple changes without testing equipment by simply making the change and then seeing if it sounds better. It can be constructed using standard tools and takes only 2-3 days. The frequency response ranges up to 25Hz, and working with a sealed enclosure helps us achieve an extended bass response while maintaining high efficiency.
DIY Audio & Video
It can be easily constructed, and the cost is quite affordable. The size and shape of this subwoofer cannot be regulated, but it still helps you enhance all your favorite tracks by producing better quality sounds. The two speakers installed in it make it an accurate value for money deal! With this DIY project in your hand, you will have sound quality even better than available expensive sound systems. Each driver is different, so this isn't a yes or no question.

This knowledge, combined with our love for music, drives us to create products that you listen through rather than to. I have obtained an extra pair of same speakers to match the original and mounted these in the next room. I then bought a speaker selector switch to switch from one room to the other.
DIY High Powered Subwoofer
This DIY subwoofer has an integrated amplifier for those who love to tweak and adjust lows, highs, impedance, etc. This subwoofer has a compact design and can be placed in any corner of your room without getting in the way. This is ideal for those whose rooms are small or have clutter and do not want to compromise on their entertainment. You don't have to swap out your car's interior to install an aftermarket subwoofer.

It’s important that you pay attention and don’t exceed the minimum speaker impedance rating. Try using a stronger magnet, keeping your coils tighter, using different "amplifiers," and playing different music sources at different volumes. Unless your speakers have a built-in amplifier, your speakers need an external amplifier.
STEP 4 Connect the Amplifier Module to the Bluetooth transmitter
The project is straightforward to build and doesn’t require any advanced knowledge of electronics or carpentry. This article will provide you with detailed instructions on putting the subwoofer together from scratch. A well-made subwoofer is essential for any home theatre or sound system.
This just means more work and wood, but build the speaker you want. It is cheaper and simpler to build a large sub box with a separate much smaller bookshelf sized speaker. Another option which is very popular with manufacturers is to make a single, thin, deep box with a side firing woofer, as in the NHT 3.3 above.
DIY Subwoofer Build With LED Light
Connect your power cables, and volume controls to the battery unit. Place these units into the enclosure, and secure them in place with hot glue or with screws. That's why our cabinets are hand-built, the design of our drivers is unique to us, and our underlying technologies are patented, proprietary designs. DIY subwoofer projects are popular because they are easy to install and can provide you with an excellent return on investment . If you have plenty of power available that’s fine, but if not you may be better off getting an 8 ohm crossover.
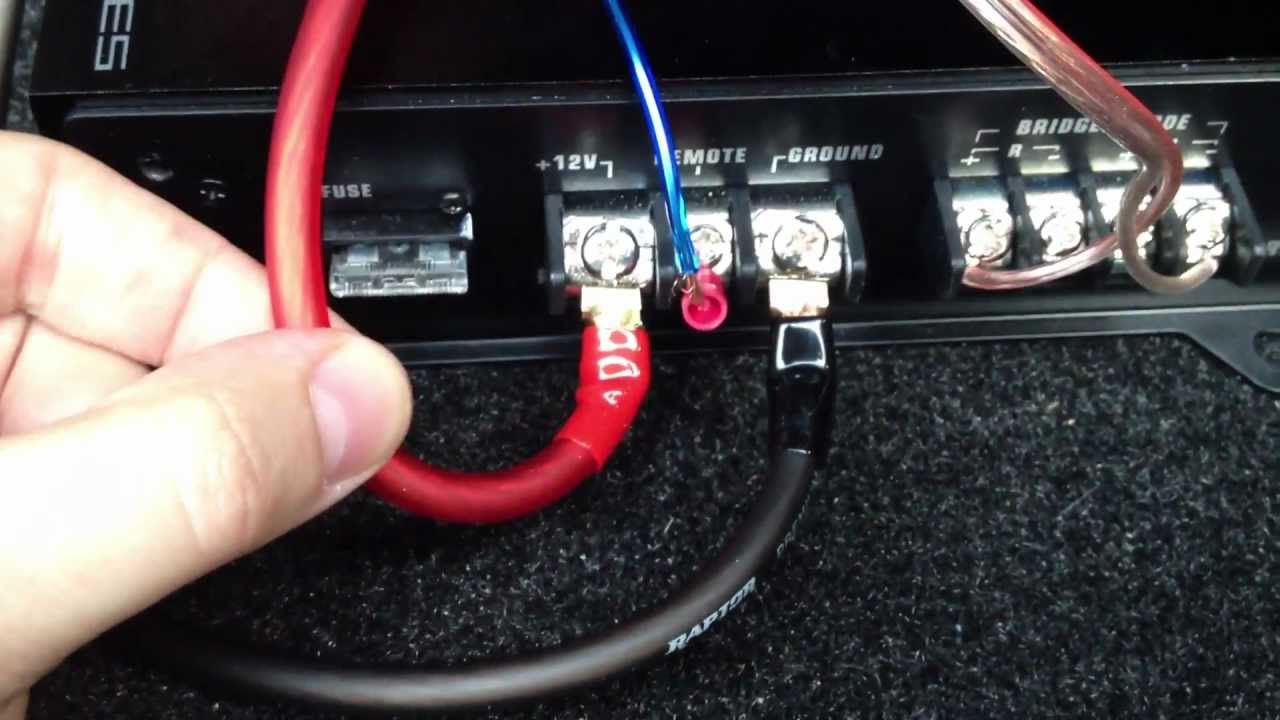
Changing port length - Technically, if you have purchased expensive flared ports, then you can only make them shorter. If the change makes them sound worse, then there isn't much you can do to make them longer again. The brown cable is simply there to tell the PSU to turn on and the REM on the amp needs power to tell it to turn on as well.
Loops of wire have a property called inductance which affects a speaker’s resistance value depending on the frequency being played. You misunderstand......you do NOT include the volume for the driver or any damping material....never ever. The published Thiele/Small parameters that accompany each speaker, when plugged into the appropriate formula take that into account. You also do not take into account the volume of the port, only the square inches at the baffle entrance. The length of the port determines how the enclosure is tuned.

The DIY Subwoofer Build With LED Light is an easy-to-build, high-quality subwoofer that can be used for movie nights and game days to music. These speakers look great, especially with their bright LEDs. The enclosure works well in both ported and sealed boxes, which allows you to choose the type of sound you want. It has a built-in LED light that displays when the speaker is on and gives your home or room a fantastic ambiance. Making this DIY subwoofer might take some time to complete, but it’s worth it in the end. The making process might take some time but will be worth it in the future.
But either it doesn’t fully switch off the other speaker outputs or passes some signal regardless. Those are good questions and I mention the one about tweeter polarity with even-order crossover here in this diagram. Thanks to all authors for creating a page that has been read 599,434 times.
This means I have to convert 230V AC down to 12V DC so to do so im using the 12V rail on a computer power supply. Computer PSU's also produces 5V and 3V for other components liek USB but these are no use to me so I simply didn't use them. Basically to save money i'm using a car amp to power this instead of the usual whats called a plate amp like most home subwoofers have. Wi-Fi speakers offer excellent audio and a robust wireless signal thanks to the increased bandwidth over Bluetooth models.
I’ve seen many attempts by people who had friends who claimed they could “boost the power” or “get more power” by some claimed trick, but it doesn’t work. The difference is how they behave when music is present when they’re connected to a musical amplifier of some sort. In this post, you’ll find clear and detailed speaker wiring diagrams to help (and that you can print out if you like, too!). Include the circular openings needed for the face of the speaker and the connectors. If there is no template, trace the circumference of the face of the speaker on the front piece and a 2-inch (5-cm) hole on each side piece for the connectors. Multiply the depth, height and length to determine the internal volume of the box.
Use the speaker’s height and length measurements as the box’s internal height and length dimensions. In your commentary above, you say "the volume of the port is excluded from the volume of the box". So that some don't wonder, you should also include "the volume of the speaker is independent from the volume of the box". Pretty simple step, cut down the 18mm MDF and do a dry fit to check it.